ImageMagick
Tutorial Templates
(Teaching Templates)
(with Mr. C's approval)
|
|
ImageMagick
Tutorial Templates
(Teaching Templates)
(with Mr. C's approval)
|
|
|
Blinking Squirrel using Morphimation
|
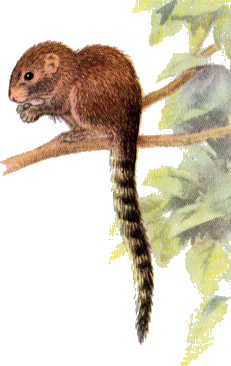
I took this image above to Koya ImageMagick: I then go to the Annotate Tab I annotated a period Offset=+21+20 Gravity=North West Fill and Stroke colors were #C39973-Under Color=None Point size=60 density=60 Font=Helvetica-bold Which gives me this image: 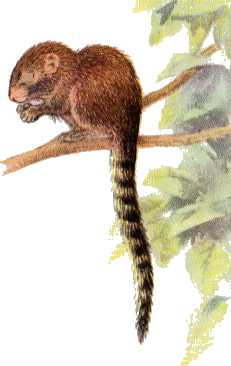
I OUTPUT selecting CLIPBOARD instead of the default multi-frame file. This will be frame #2 of the animation |
|
Choose an output image format and set any optional image attributes below. Some attributes are only relevant to specific output formats. Next, press output to convert your image to the selected format. The image is converted and you are given an opportunity to download it to your local area. |
|
Click the second output screen where you click
on the image to view it with it's own URL. Congratulations! You have now put the image you just made on the ImageMagick Clipboard! I am presently at the 2nd output screen. Now that we have the image on the clipboard waiting for us. I stop and hit my back key until I am at the screen BEFORE I went to annotate. Which is View / Paint I click on the F/X tab I put 0 in the parameters text area I select the Morph radio button =MOST IMPORTANT= I check mark the box "use clipboard image as source for F(x)." Click * Puts me back in View / Paint again Congratulations! You have now taken the image off of the clipboard and morphed it with the current image! |
|
To add special effects to your image, enter your effects parameter and method. Note, only methods denoted with an asterisk require a parameter value. Next, press effect to continue. |
|
Next I Output IMPORTANT #2 make sure you select the file format of .gif as it will be set at .jpg if you use the same image as I did above. I type in 77 in the delay text area You can leave it set as clipboard or change it to multi frame file. It does not make a difference. Output and save to my webhost
|